Perfect Instant Pot Applesauce: Customize Your Sweetness & Texture
There's something incredibly comforting about a bowl of warm, homemade applesauce. It's a classic treat that evokes images of crisp autumn days and family kitchens. While traditional stovetop methods can be delightful, they often demand constant attention, stirring, and a significant chunk of your afternoon. But what if you could enjoy that same delicious, fresh flavor in a fraction of the time, with minimal effort? Enter the Instant Pot, your new secret weapon for creating the most perfect, customizable
instant pot applesauce you've ever tasted.
Forget the days of bland, overly sweet store-bought varieties, or the endless stirring over a hot stove. This revolutionary method speeds up the process dramatically, allowing you to go from whole apples to a steaming bowl of sweet-tart goodness in just over 30 minutes. Once you experience the ease, speed, and unparalleled flavor of pressure-cooked applesauce, we're confident you'll never look back.
Choosing Your Apples: The Foundation of Flavor
The journey to your ideal
instant pot applesauce begins with the right apples. While virtually any firm, smooth-textured apple will work, your choice significantly impacts the final taste and how much (if any) additional sweetener you'll need.
*
For a Tart & Tangy Sauce: Granny Smith apples are the undisputed champions. Their vibrant acidity creates a beautifully tart applesauce that many adore. If you love that bright, puckery flavor, these are your go-to.
*
For a Naturally Sweet Sauce: Varieties like
Gala,
Fuji,
Honeycrisp,
Golden Delicious, or even
Macintosh are naturally sweeter. Using these might mean you need little to no added sugar, making it an excellent choice for a naturally sweetened option.
*
For a Balanced Flavor: A blend of sweet and tart apples often yields the most complex and satisfying flavor profile. Consider combining Granny Smith with Gala or Fuji for a harmonious balance of sweetness and acidity.
Pink Lady or
Braeburn also offer a lovely balance if used alone.
Regardless of your choice, ensure the apples are firm and free from major bruises. The beauty of the Instant Pot method is that *no peeling* is required! The pressure cooking process softens the skins so completely that they blend seamlessly into the sauce, adding natural fiber and vibrant color. This simple fact alone makes the Instant Pot a game-changer for homemade applesauce, making it genuinely
Easy Instant Pot Applesauce: No Peeling & Naturally Sweetened.
Crafting Your Perfect Flavor Profile: Sweetness & Spice
One of the greatest advantages of making
instant pot applesauce at home is the complete control you have over its flavor. You dictate the sweetness, the spice, and even the subtle undertones.
Adjusting Sweetness: Your Sauce, Your Rules
The amount of sweetener you add is entirely up to your personal preference and the natural sweetness of your chosen apples.
*
Start Small: If using tart apples like Granny Smiths, a few tablespoons of brown sugar, maple syrup, or honey is a good starting point.
*
Taste & Adjust: The beauty of applesauce is that you can *always* add more sweetness at the end. If you're concerned about it being too sweet, omit the sugar initially and stir in more after the cooking process, to taste. This allows you to achieve that perfect balance without overdoing it.
*
Natural Sweeteners: Beyond granulated or brown sugar, consider honey or maple syrup for different flavor notes. A little goes a long way.
Enhancing Flavor with Spices & Salt
While apples and water are the absolute basics, a few simple additions can elevate your applesauce from good to extraordinary.
*
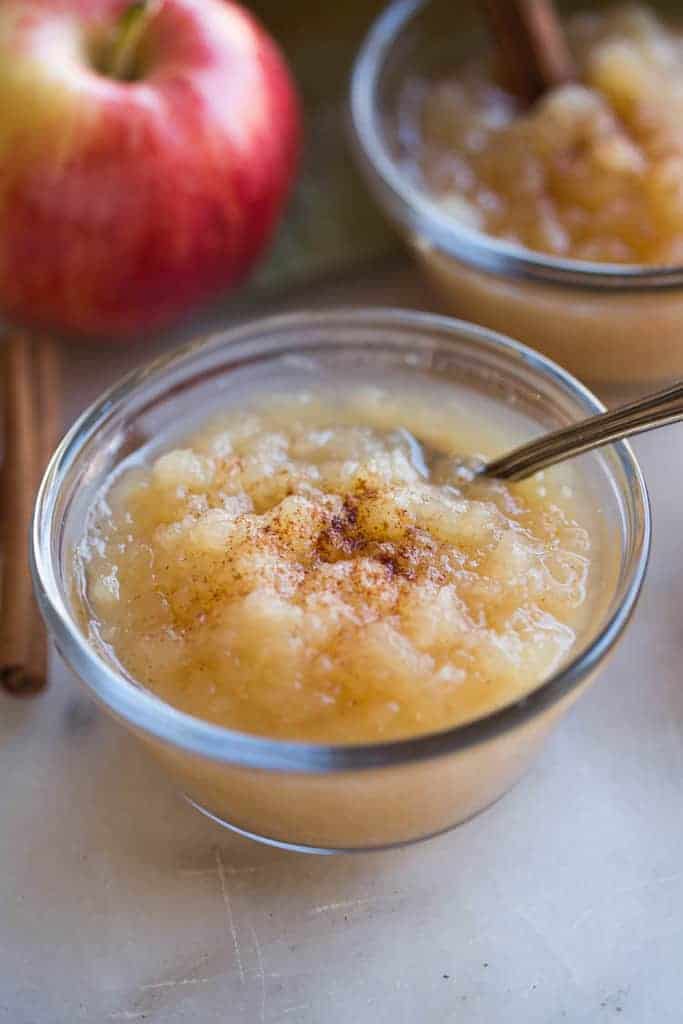
Cinnamon: The classic pairing! Warm, aromatic cinnamon perfectly complements the sweet and tart notes of apples, adding depth and coziness. A teaspoon or two is usually sufficient, but feel free to adjust. If you're not a fan of cinnamon or prefer a simpler sauce, it's perfectly fine to omit it.
*
Other Spices: Don't be afraid to experiment! A pinch of nutmeg, allspice, or even a tiny dash of ground cloves can add another layer of warm spice. A very small amount of fresh ginger, grated, can also introduce a lovely, zesty kick.
*
A Touch of Salt: This might sound counterintuitive, but a tiny pinch of kosher salt (about ¼ teaspoon) is a game-changer. Just like in baking, salt doesn't make the applesauce taste *salty*; instead, it magically enhances and brightens the natural sweetness of the apples, making all the other flavors sing. It's a must-have for a truly balanced flavor.
*
Lemon Juice for Brightness: For apples that are particularly sweet, or if you simply desire a brighter, fresher taste, a squeeze of fresh lemon juice at the end can cut through the richness and add a delightful tang.
The Instant Pot Magic: Effortless Applesauce in Minutes
This is where the Instant Pot truly shines, transforming what can be a tedious process into a remarkably quick and hands-off affair.
1.
Combine Ingredients: Start by washing and coring your apples. You don't need to be precise; simply cut them into roughly 1-inch chunks. Place the apple chunks directly into your Instant Pot liner. Add about ½ cup of water (or apple cider for an extra layer of apple flavor!), your chosen sweetener, spices, and that crucial pinch of salt. Give everything a good stir to ensure it's well combined.
2.
Secure the Lid: Place the lid on your Instant Pot and ensure the sealing ring is properly in place. Turn the steam release valve to the "Sealing" position.
3.
Pressure Cook: Select the "Manual" or "Pressure Cook" setting on High pressure for
5 minutes. That's right, just five minutes! The Instant Pot will take a few minutes to come to pressure before the cooking time begins.
4.
Natural Release, Then Quick Release: Once the 5-minute cooking cycle is complete, allow the Instant Pot to naturally release pressure for
10 minutes. This means you do nothing – just let the timer count up to "L 0:10" or similar. After 10 minutes, carefully switch the steam release valve to the "Venting" position for a quick release of any remaining steam. Always follow your manufacturer's instructions for safe quick release.
5.
Stir and Serve: Once all the pressure has been released and the float valve has dropped, open the lid. The apples will look incredibly soft and ready to be transformed. Give the applesauce a good stir.
* For a chunky sauce, simply mash with a fork or potato masher.
* For a smoother texture, use an immersion blender directly in the pot, or transfer to a blender or food processor and pulse until your desired consistency is reached. Be careful when blending hot liquids.
And that's it! In just over 30 minutes, you'll have warm, fragrant, perfectly customized homemade
instant pot applesauce. For a straightforward, step-by-step guide that will transform your kitchen experience, be sure to check out
Quick & Easy Instant Pot Applesauce: Never Buy Store-Bought Again.
Beyond the Basic Bowl: Customizing Texture & Storage
While the Instant Pot handles the cooking with remarkable efficiency, you still have the final say on the texture of your applesauce.
Achieving Your Ideal Texture
The cooking time provided (5 minutes, 10 minutes NR) is optimized to break down the apples while retaining their fresh flavor. How smooth you make it after cooking is completely up to you:
*
Chunky: For a rustic, delightful texture with discernible apple pieces, a simple mashing with a sturdy fork or potato masher directly in the pot is all you need.
*
Smooth: If you prefer a velvety, consistent applesauce, an immersion blender is your best friend. Blend directly in the Instant Pot liner until it reaches your desired silky smoothness. Alternatively, transfer the cooked apples to a regular blender or food processor and process until smooth.
*
Medium: A combination of the above, perhaps a quick mash followed by a brief pulse with an immersion blender, can give you a texture that's neither too chunky nor completely pureed.
Remember, the flavor won't suffer if you choose a very smooth texture, but *overcooking* the apples initially can lead to a loss of that lovely tartness. Stick to the 5-minute pressure cooking time for best results.
Storage and Freezing Tips
Homemade
instant pot applesauce is so delicious, you'll likely want to make a big batch!
*
Refrigeration: Store leftover applesauce in an airtight container in the refrigerator for up to 7-10 days.
*
Freezing: Applesauce freezes beautifully! Allow it to cool completely, then transfer it to freezer-safe containers, zip-top bags (laid flat), or even ice cube trays for smaller portions. Be sure to leave about an inch of "headroom" in containers as the applesauce will expand slightly when frozen. It will keep well in the freezer for up to 3 months. Thaw overnight in the refrigerator or gently reheat from frozen on the stovetop or in the microwave.
Serving Suggestions
While a warm bowl of plain applesauce is a treat in itself, don't limit its potential:
* Serve alongside roasted pork or chicken for a sweet and savory contrast.
* Dollop it on pancakes, waffles, or oatmeal for a delicious breakfast.
* Use it as a healthy fat substitute in baking recipes like muffins, cakes, or quick breads.
* Enjoy it as a light and healthy dessert, perhaps with a sprinkle of granola or a swirl of yogurt.
If you're particularly interested in making applesauce without the fuss of peeling, our guide on
Easy Instant Pot Applesauce: No Peeling & Naturally Sweetened offers fantastic insights into this effortless approach.
Conclusion
The Instant Pot truly revolutionizes the way we make applesauce. It transforms a time-consuming kitchen task into an effortless joy, delivering superior flavor, texture, and nutritional value compared to anything you'll find on a grocery store shelf. With the ability to customize sweetness, spice, and texture precisely to your liking, you're not just making applesauce; you're crafting *your perfect* applesauce. So go ahead, embrace the season's bounty, fire up your Instant Pot, and prepare to never buy store-bought again. Your taste buds (and your schedule) will thank you!